
Windows 11 replaced the familiar right-click context menu with a more compact, simplified version, aiming for a cleaner look. This is the case both on the desktop and withing file explorer. While some users appreciate the new design, others miss the full-featured menu from Windows 10. If you’re in the latter group, you can bring back the old menu style by tweaking a registry setting or by using third party tools. Follow the steps below to make it happen.
Using the Classic Context Menu in Windows 11
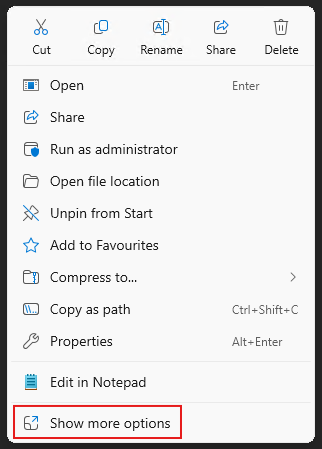
You can still access the original context menu just by clicking on the last option in the menu “Show More Options” while this can be useful it adds more time to a once simple task.
How to Restore the Classic Right-Click Menu in Windows 11 (Registry Method)
If you are not comfortable or don’t have the time to edit the Windows Registry, try our easy Windows 11 Classic Context Menu Registry Fix.
Step 1:
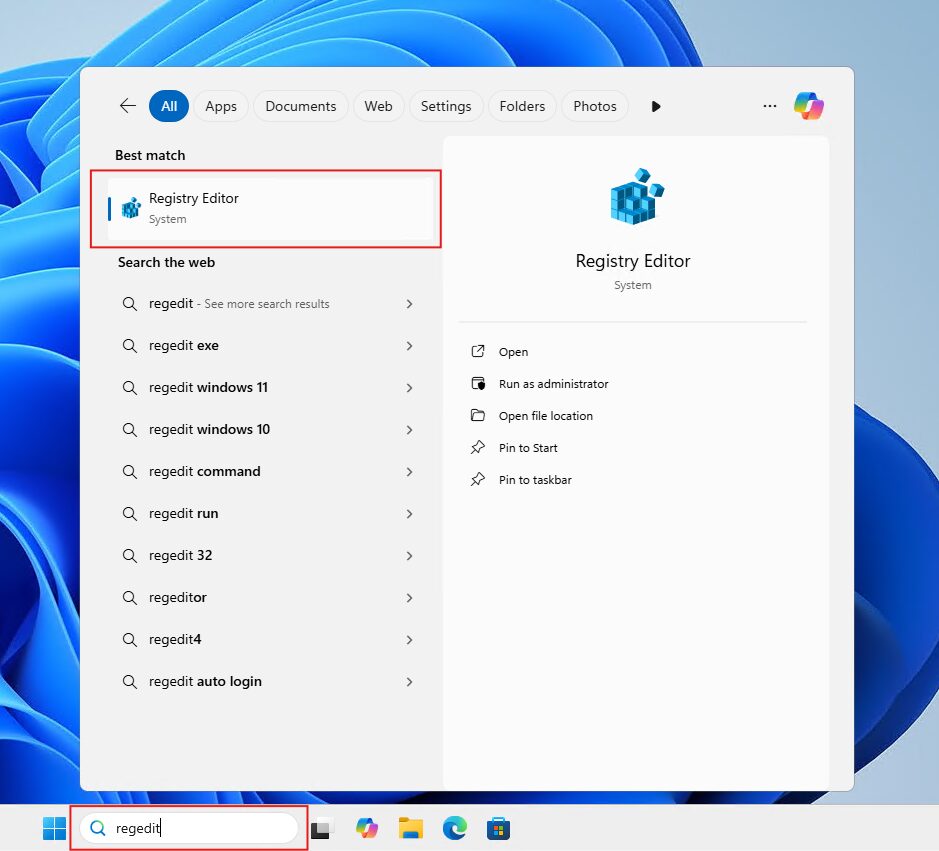
Click the Start menu, type regedit into the search bar, and select Registry Editor from the search results.
Step 2:
In the Registry Editor, either browse manually to the following key or paste it into the address bar at the to to jump there instantly:
Computer\HKEY_CURRENT_USER\SOFTWARE\CLASSES\CLSID\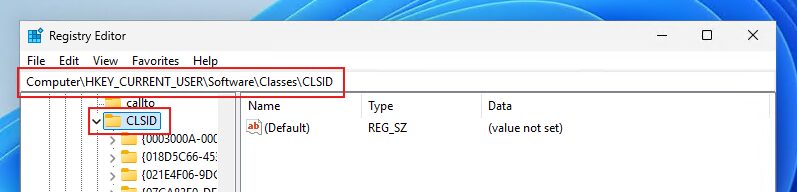
Step 3:
Right-click an empty space on the right side of the window, choose New > Key, and enter the below for the new key name:
{86ca1aa0-34aa-4e8b-a509-50c905bae2a2}
Step 4:
Next, in the Registry Editor’s left panel, right-click on {86ca1aa0-34aa-4e8b-a509-50c905bae2a2}, select New, then click Key. Name this new key:
InprocServer32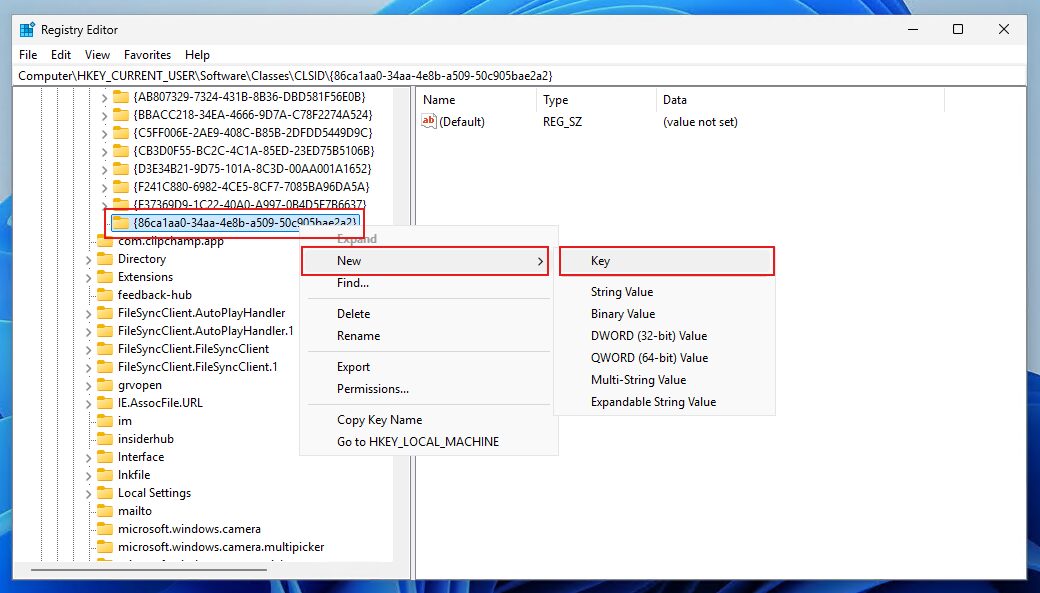
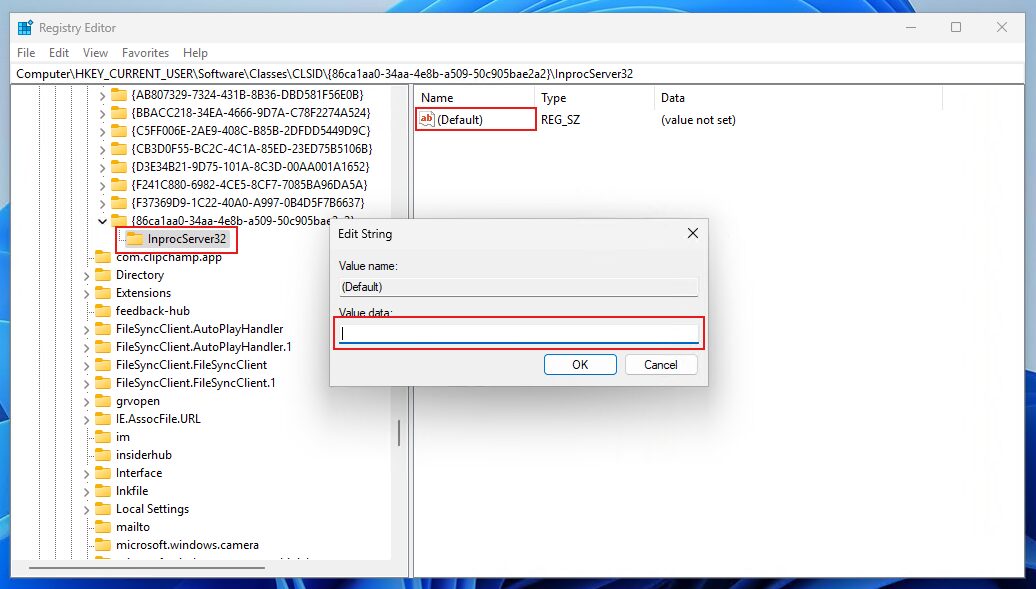
Step 5:
Now, open the InprocServer32 key and double-click the (Default) entry found inside it. When the edit dialog appears, don’t type anything—just press OK to close it. Doing this will change the entry from (value not set) to an empty value.
Once you’ve made the changes, you can close the Registry Editor and restart your computer. The next time you right-click, the classic context menu will be restored — and you’re all set!
If you later decide to restore the default Windows 11 right-click context menu, simply delete the {86ca1aa0-34aa-4e8b-a509-50c905bae2a2} registry key you created earlier. To do this, right-click the key in the Registry Editor‘s left pane and select ‘Delete‘.
How to Restore the Classic Right-Click Menu in Windows 11 (.reg File Method)
If you would like to revert to the classic Windows 10 and previous Windows versions right-click context menu quickly and without modyfing the registry yourself we have you covered!
Step 2:
Once downloaded open the zip file and you will find 2 .reg files:
activate_classic_context_menu.reg and remove_classic_context_menu.reg
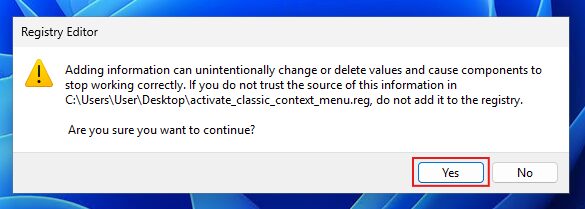
Run activate_classic_context_menu.reg and choose Yes when the below prompt appears.
You can also use remove_classic_context_menu.reg at any time to revert to the default Windows 11 context menu
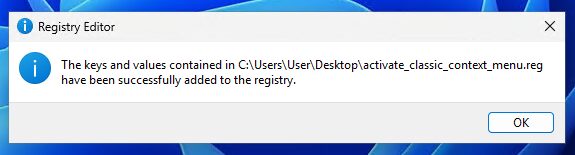
You will receive a confirmation that the values have been added to the registry.
After rebooting your computer, the classic right-click context menu will be restored and ready to use.
How to Restore the Classic Right-Click Menu in Windows 11 (StartAllBack Method)
Another easy way to bring back the classic right-click context menu in Windows 11 is by using a third-party tool called StartAllBack. This lightweight customization utility is specifically designed to restore familiar Windows 10 interface elements, including the traditional context menu, taskbar, start menu, and more.
Step 1:
Head over to https://www.startallback.com/ and download the latest version of StartAllBack.
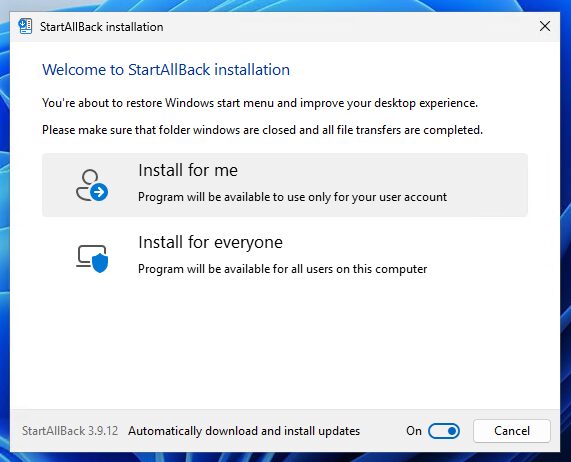
Step 2:
Run the downloaded installer and choose your preferred options.
Once installation is complete, the Windows right-click context menu will have already been reverted to the classic context menu by default.
Step 3:
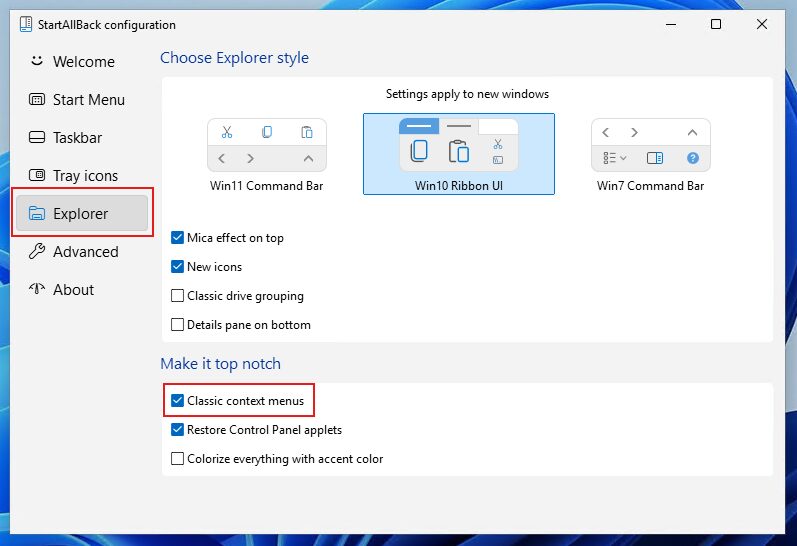
Toggle the classic context menu at any time by opening StartAllBack, clicking Explorer in the left pane, and unticking Classic context menus. Note: a reboot is required for changes to take effect.
Learn more about StartAllBack in our: How to Make Windows 11 Look and Feel Like Windows 10 – Easy Customization Guide.


