
Taking a screenshot on your Windows PC is a quick and easy way to save or share exactly what’s on your screen—whether it’s an error message, an image, or part of a document. Both Windows 10 and Windows 11 offer several built-in methods to capture screenshots, from simple keyboard shortcuts to more advanced tools. In this guide, we’ll walk you through the different ways to take screenshots on Windows, so you can choose the method that best suits your needs.
Capture a Screenshot using Windows 10
Windows 10 by default allows a screenshot to be taken using a button combination as is standard in most previous versions of Windows.
Option 1: Print Screen
Press the Print Screen button on your keyboard. Some laptop keyboards may require you to hold the FN (function) key at the same time.
The screenshot will be copied to your clipboard. Open any image editing software or similar and hit ctrl + v or right click and paste from the context menu.
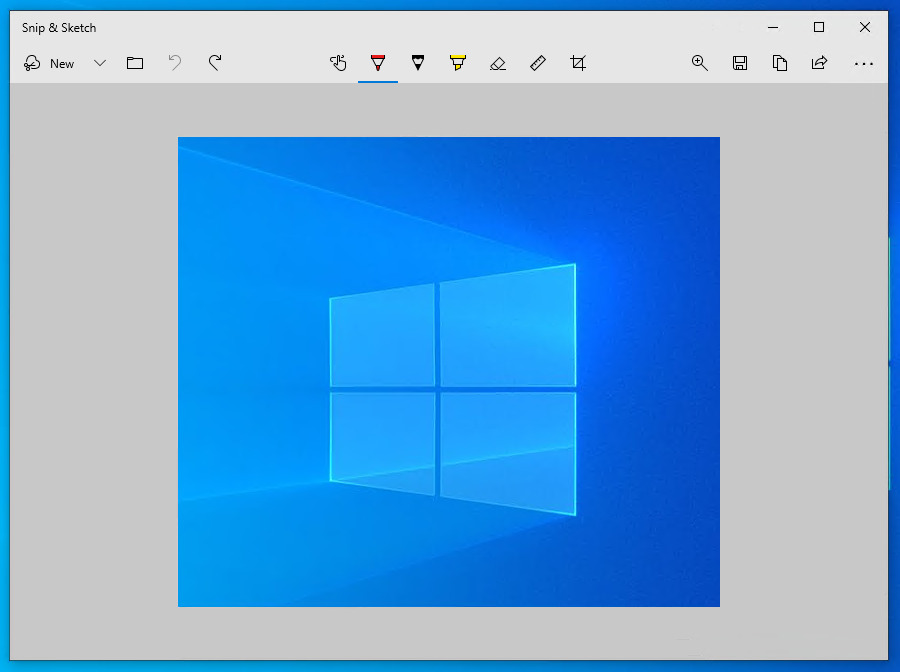
Option 2: Snip & Sketch
Press Windows key + Shift + S at the same time to open Snip & Sketch. Your screen will dim and a toolbar will appear at the top.

Choose from:
- Rectangular Snip – Drag to select a rectangular area of the screen.
- Freeform Snip – Draw around the area you want to capture.
- Window Snip – Select and capture an entire window.
- Fullscreen Snip – Capture your entire screen.
Once you’ve selected an area, the screenshot will be copied to your clipboard and a notification will appear – click it to open and edit in Snip & Sketch.

Capturing a Screenshot using Windows 11
Option 1: Print Screen
Slightly different to Windows 10, in Windows 11 to screenshot just press the Alt + Print Screen buttons together. Some keyboards may require you to hold the FN (function) key at the same time.
The screenshot will be copied to your clipboard. Open any image editing software or similar and hit ctrl + v or right click and paste from the context menu.
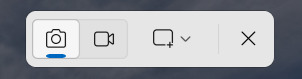
Option 2: Snipping Tool
In Windows 11 pressing the Print Screen button alone will open Snipping Tool. Your screen will dim and a toolbar will appear at the top.
Choose from:
- Rectangular Snip – Drag to select a rectangular area of the screen.
- Freeform Snip – Draw around the area you want to capture.
- Window Snip – Select and capture an entire window.
- Fullscreen Snip – Capture your entire screen.
- Delay Snip – Add a delay before the screenshot is captured.
- Record Screen – Record video of a selectable area of your screen.
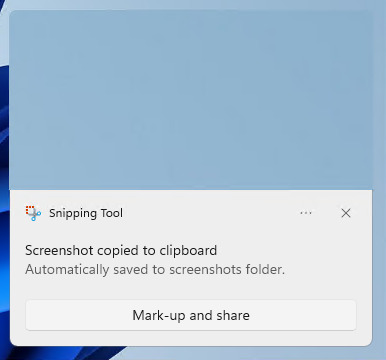
Once you’ve selected an area, the screenshot will be copied to your clipboard and a notification will appear – click it to open and edit in Snipping Tool.
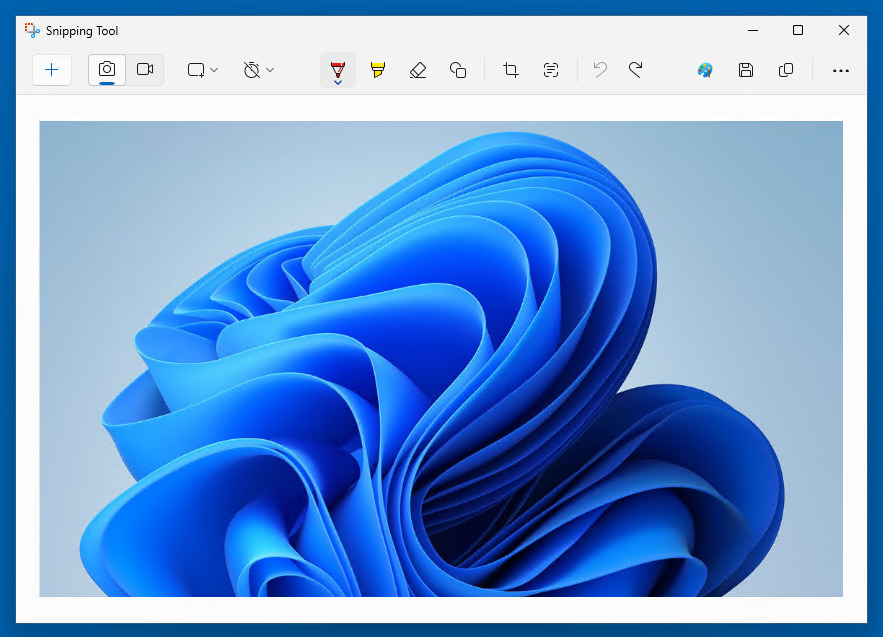
Snipping Tool in Windows 11 has been upgraded with useful new features, including screen recording and a delay function. You can now record specific areas of your screen—ideal for tutorials, troubleshooting, or sharing quick demos. The delay option also lets you capture screenshots after a set time, making it easier to capture drop-down menus or timed actions.
Need to take a screenshot on your phone instead? Check out our guides for Android and iPhone devices.


